
Henry Quach
Optical Engineer3D Printed Lithophanes
This post is going to be much shorter than the last one. 3D printed lithophanes are already well known and commonly implemented among the maker community. Essentially, an imported photo is approximated as greyscale image of limited bit depth (i.e. some binned number of brightness values). This representation is then converted to some material thickness, mapping a 2D pixel brightness map to a 3D topgraphic map. Darker pixels are mapped to thicker heights, while lighter ones map to thinner ones. Some light source illuminates the printed lithophane from behind, and the dynamic range of visible shades is dependent on your minimum pane thickness and light source luminous power.
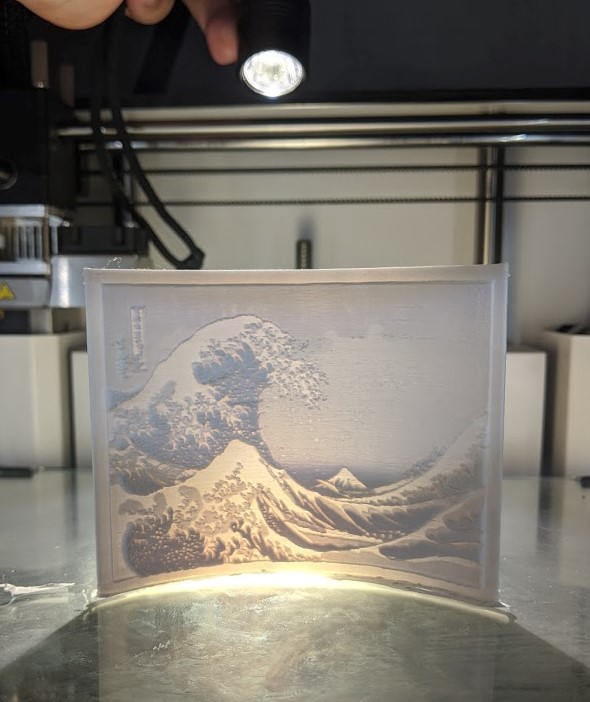
P/C: Respective Creator on Thingiverse. Hokusai's The Great Wave of Kanagawa was my first lithophane print and acame out really well. Layer height was set to 0.1 mm and print speed to the standard 60 mm/s.
3D Print Considerations
You can automatically generate a lithophane in Simplify3D by importing an image, convert through Photoshop with a HUGE number of options, or use the one that I like best: Lithophane Generator from 3dprocks. This online generator takes in a photo and converts an image to STL in a variety of forms. You can adjust the contrast, minimum depth, and even add borders in-browser.
It's quite interesting that prints come out vertically. It's not the fastest way to print a plane and this configuration is more susceptible to first layer peeling. However, if we imagine each pointwise material deposition as a voxel of finite size, we notice several problems. If you imagine a horizontally-printed topographic map with lots of vertical cliffs (i.e. high contrast details), the 3D printer has to move between the separated cliffs A LOT to do the print. 3D printed inherently have to retract the filament when it moves betweeen such cliffs because the melting filament is always dripping out of the nozzle. Printers that are not well tuned for the right retraction amount (~4 mm for Bowden style printers) experience "stringing", where a long thin plastic string is dragged between cliffs. This is not usually visibly desirable and can cascade into larger print errors. Furthermore, adjacent points on the XY plane naturally meld together, which decreases your contrast between points. It's kind of like if a Gaussian blur kernel of a small radius was convolved over your entire print. Printing vertically resolves this issue and basically you just need to make sure your leveling is good enough so that the print does not warp off the bed before the lithophane is complete.
With vertical printing, we have a minimal number of these cliff jumps. In fact, you can set the 3D printer to NOT go past the interior boundaries of a print so you can avoid stringing altogether. We build upwards, layer by layer, with higher accuracy in the Z direction. Admittedly, there's still some blurring in the XY direction for each layer, but it's much less pronounced than a lithphane printed flat.
Illumination Considerations
If you look back at the Grave Wave Lithophane above, you'll notice that the lighting isn't ideal. This is because the power incident per unit area falls off quadratically with distance from the pane's center. The illumination source is a flashlight whose radiant output is highly directionally-dependent. We don't want a centered distribution, we want a uniform one. An easy way to diffuse the source intensity is to put the source further away from an object. However, real-estate is luxury we don't have for work or personal projects.
An alternative solution is a diffusing pane. A diffuser is simply an optical element that scrambles the original incident light source into something more uniform. Intrestingly, the scrambling is a volumetric phenomena, rather than a very local surface one. The optical path length is twisting and windy, as a result, the light falloff is far less pronounced. The image below shows the effect on the contrast of the lithophane.
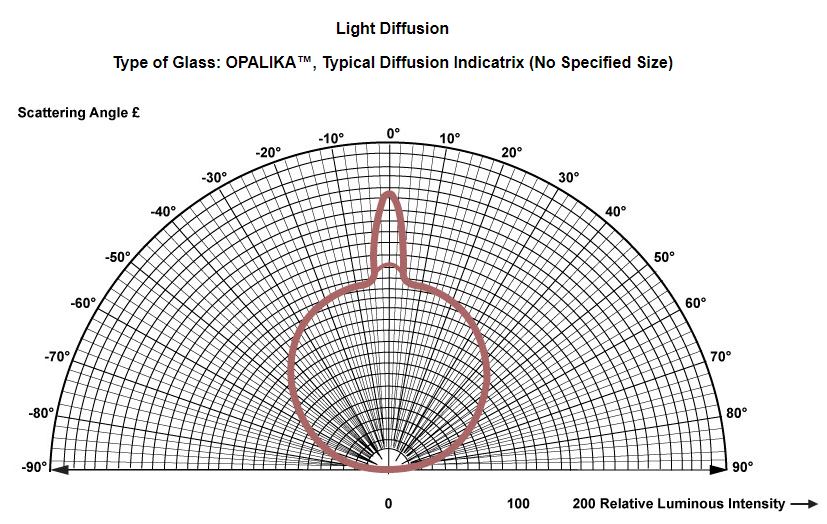
The intensity distribution is almost completely Lambertian. This means that the radiance is independent of direction and that intensity of light falls as a cosine. This spec was provided by Glass Dynamics LLC on their spec sheet.

The flashlight is still lighting the combined assembly from behind. Pretty good diffusers include flashed opal glass, which is just a milky film coated on top of a highly transmissive ceramic substrate. This is as close to Lambertian as you typically get, with very-close to Lambertian scattering. However, transmissive efficiencies are low.
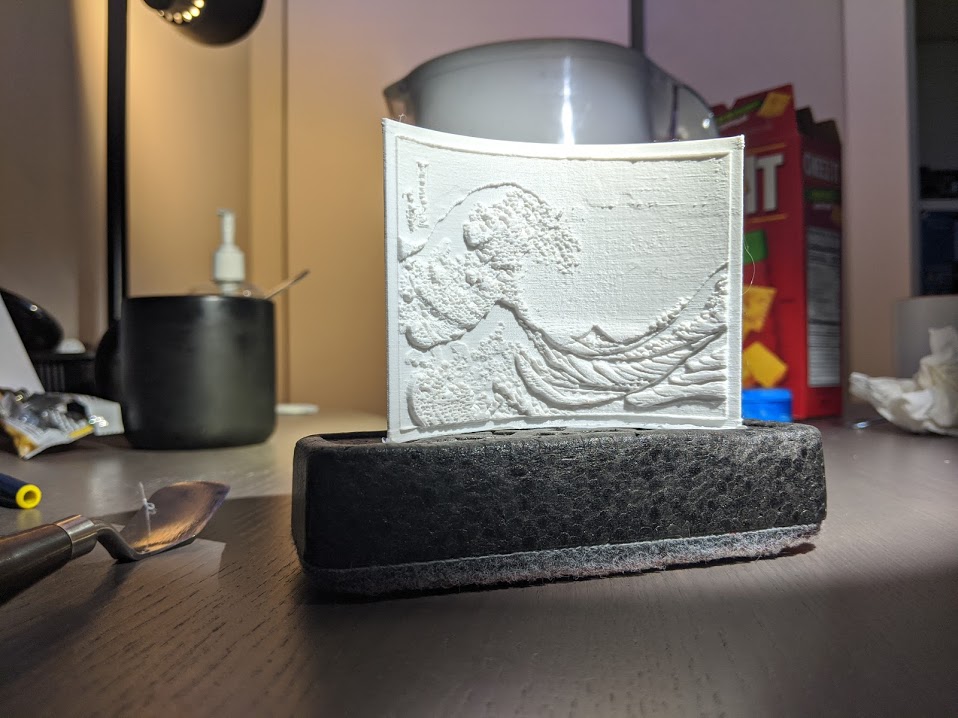
This is what the lithophane looks like from the front. Not very cool from this angle.
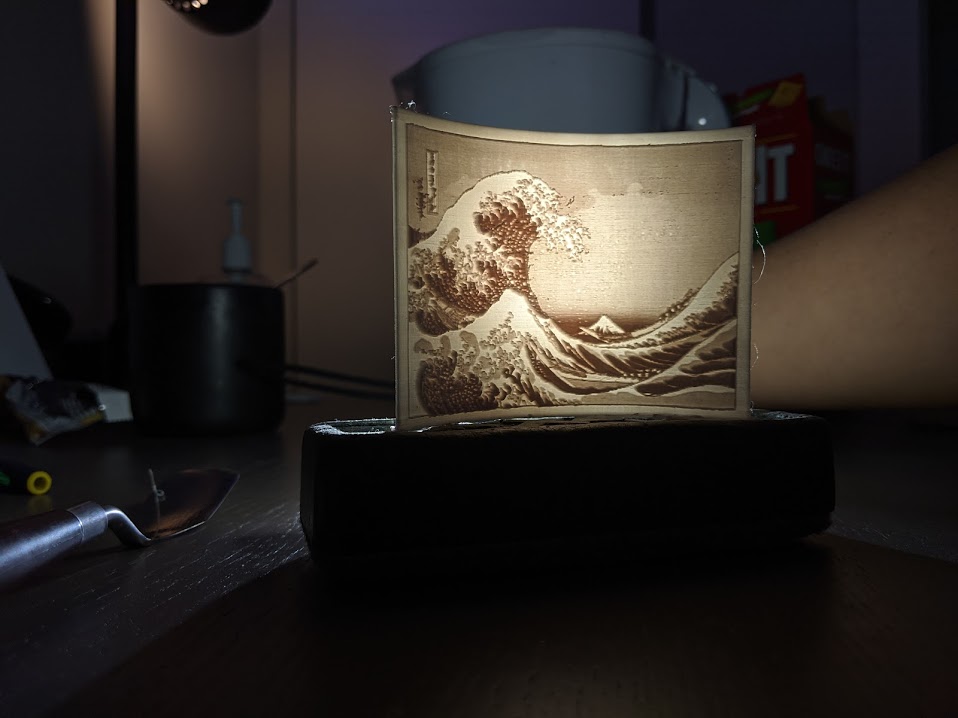
A 125 x 75 mm slab of flashed opal glass (from Rolyn Optics) was placed further away. Look at that contrast!
As another cool thing, I used the 3dprocks converter to make a still from a surreal youtube video I really liked.
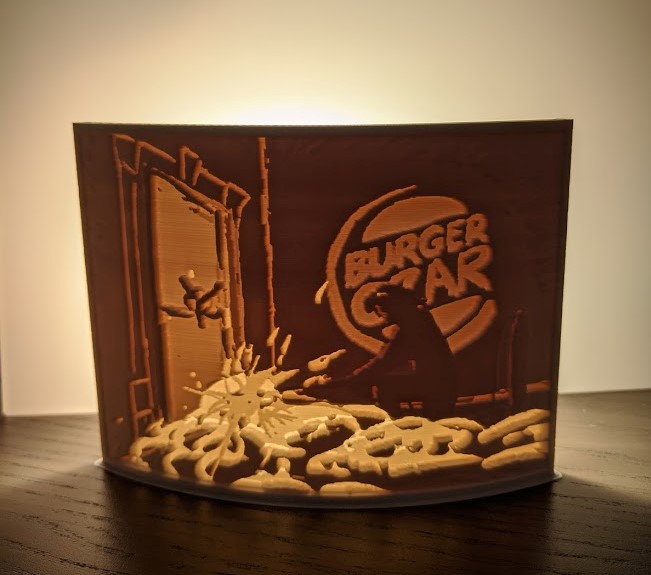
For a moment, he was king... was it worth it?
And as another cool thing... I really liked the art from The Mandalorian, S2E5, so I made a lithophane of my favorite scene:
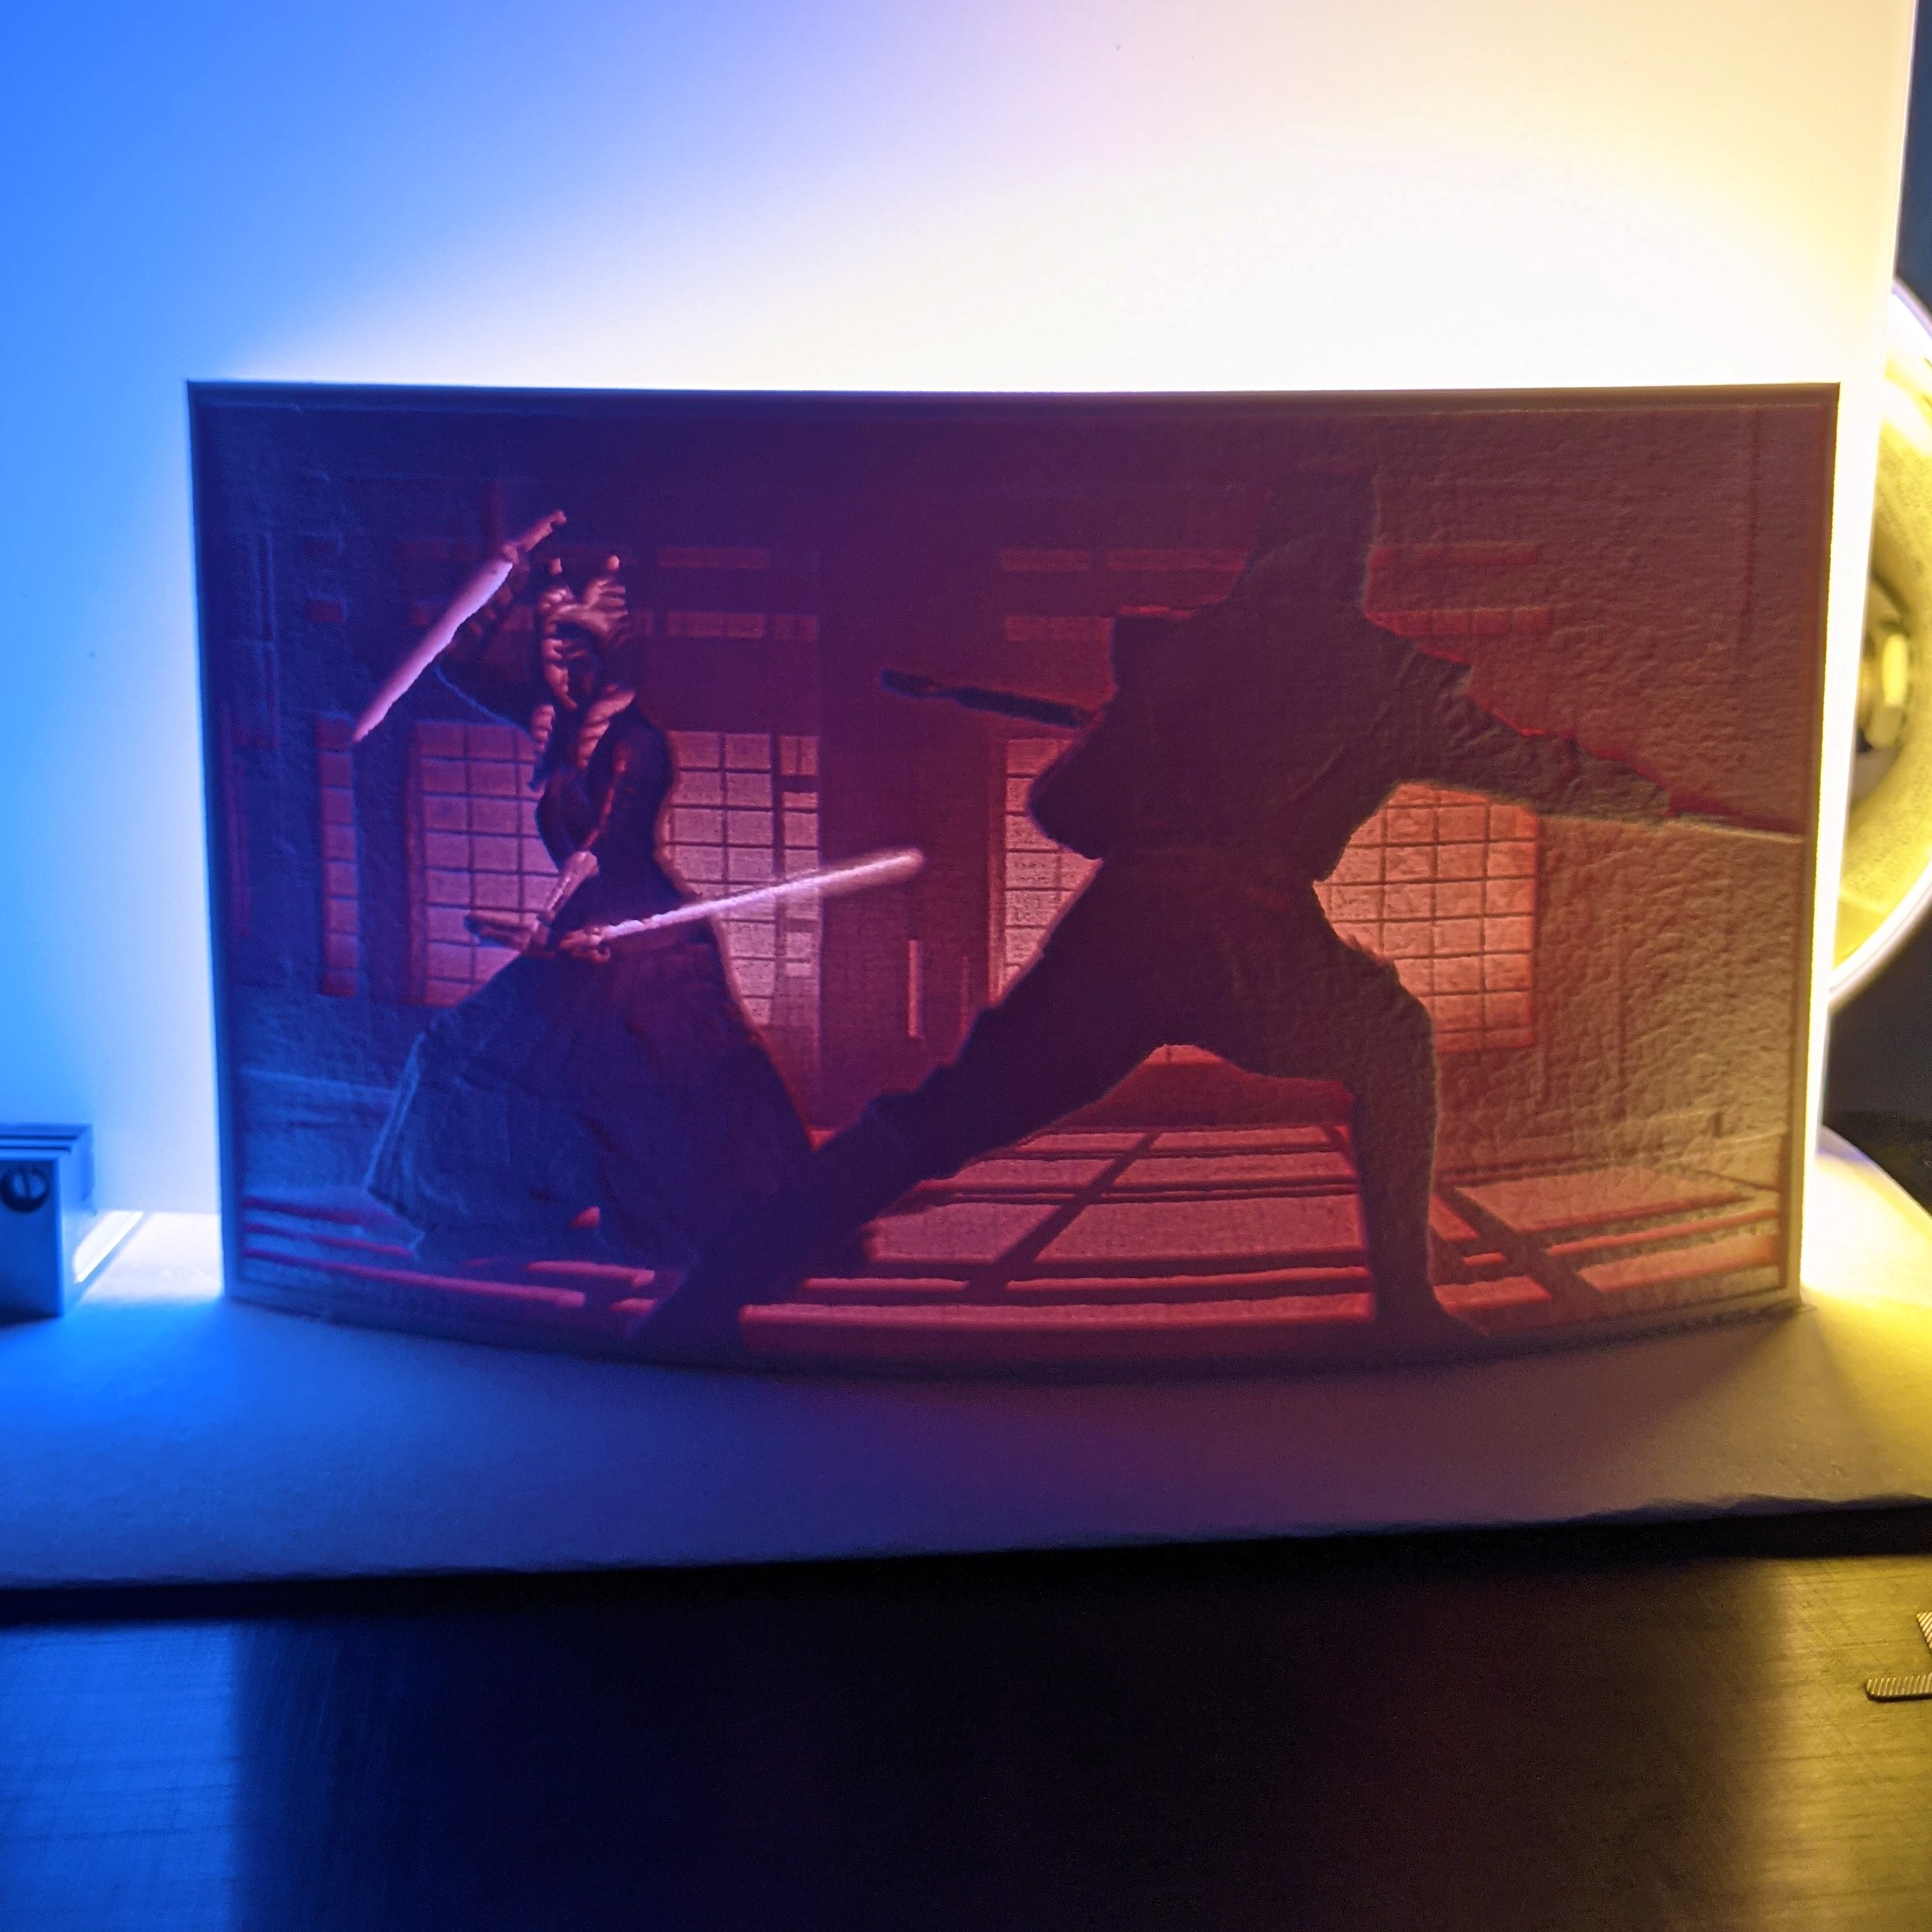
Front view, a nine hour print

View with full setup, with a Lambertian Flashed Opal Plate behind it and 2 Philips Hue Bulbs